Snipe-IT is a nice-looking, easy to install, easy to use inventory system which has a feature I’ve always wanted: Asset stickers using QR codes which, when scanned with a smartphone, take you straight to the inventory system’s details page for that asset. YES!
That said, the part of the program that lets you specify the size/quantity/layout of your asset stickers is a hair on the buggy side. With a HUGE assist from GitHub user fanta8897, these are the steps/settings that worked best for me, using Windows AND Mac, but always the CHROME browser:
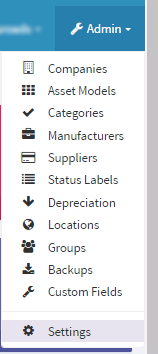
1. In Snipe-IT, go to Admin -> Settings:
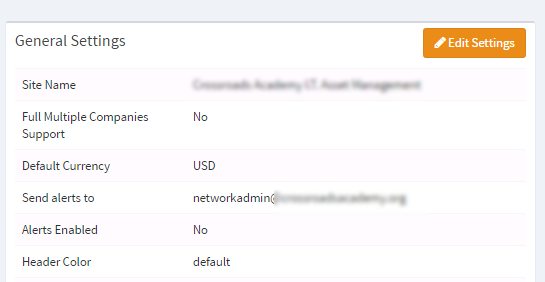
2. Click “Edit Settings”:
3. Scroll down to the “Labels” section and click it to expand the details. Configure the numbers to match as shown here:
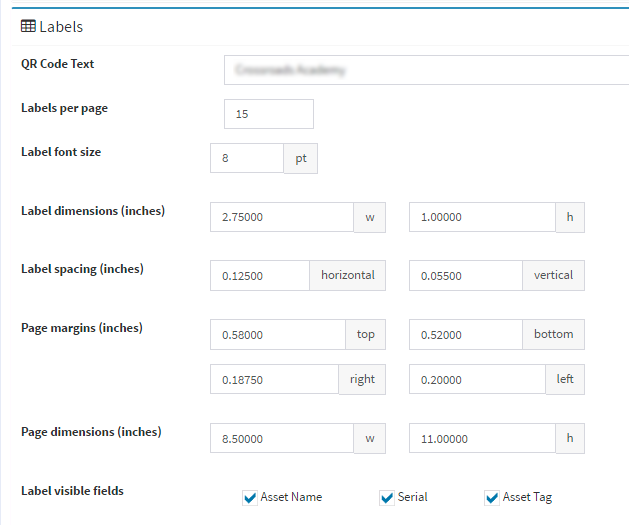
Save changes.
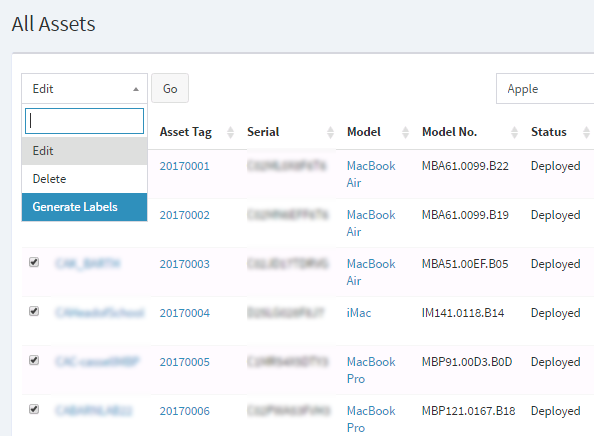
4. Select some/all of your assets and select “Generate Labels” from the dropdown and hit Go:
5. When the labels appear, hit print. Make sure that the Destination is Save as PDF and the Layout is Portrait and the Paper size is Letter and make SURE that Margins is set to None and Background graphics box is UNchecked.
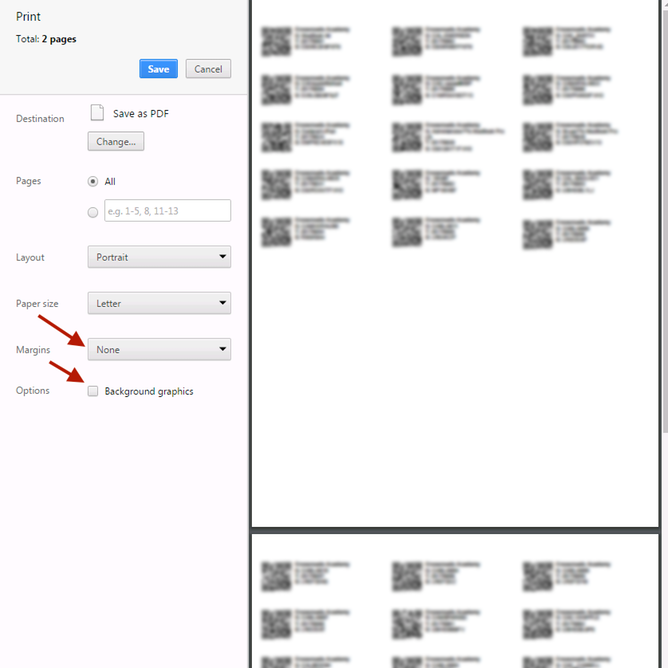
Note that it’s only going to use half of your sheet of labels per page. That’s intentional — every row drifts a little more, so if you print a full sheet, the bottom ~1/3rd of the labels will not line up right. This is why we make a PDF first…
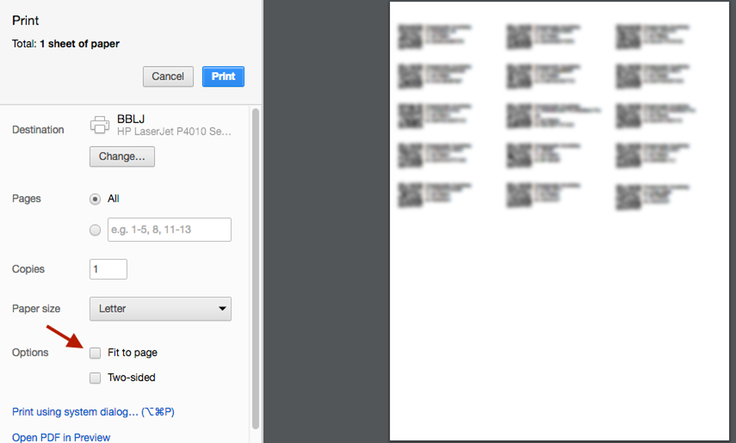
6. When you’re ready to actually print, load a sheet of Avery 5160 or equivalent labels into your multipurpose tray, and print only the FIRST page of the PDF — again, this is from Chrome’s PDF rendererer, so if you use Preview or Acrobat or whatever, then your mileage may vary. Make sure that Fit to page is UNchecked.
7. Take the half-sheet of labels and rotate it 180° and put it back in the MP tray and print page 2 of your PDF. :) No labels wasted.
Thanks to the Snipe-IT team for a great product, and to the users who posted on GitHub!